
On hooded eyes, a fold of skin covers part of the mobile lid when the eyes are open, which means eyeshadow placed only inside the natural crease can disappear the moment you look up. That single fact explains most of the frustration people describe with hooded eye makeup, and it is also the key to solving it. This guide walks through how to recognize hooded eyes, why placement works a little differently, and how to build looks that hold up once your eyes are actually open and you are looking straight ahead, not just when you are staring down into a mirror.
You will find a full step-by-step tutorial, a fast everyday version, an eyeliner and eyeshadow section, the most common mistakes people run into, practical troubleshooting for color that disappears or liner that transfers, and a dedicated section for mature hooded eyes, where changes in skin texture and lid mobility add another layer to think about.
What Are Hooded Eyes?
Hooded eyes describe an eye shape where a fold of skin near the brow bone extends down over the mobile lid, partially or fully covering the natural crease when the eyes are open and relaxed. This is different from a monolid, which has little to no visible crease at all, and different from deep-set eyes, where the eye sits further back in the socket but the crease is still visible.
Hooded eyes are extremely common and can appear at any age. For some people, hooding has been present since childhood as part of their natural bone structure and skin. For others, hooding becomes more noticeable later in life as the skin around the eyes loses some elasticity. Neither version is more or less "hooded" than the other, and neither needs to be treated as a problem to fix. It is simply an eye shape with its own logic for where makeup reads best.
How to Tell If You Have Hooded Eyes
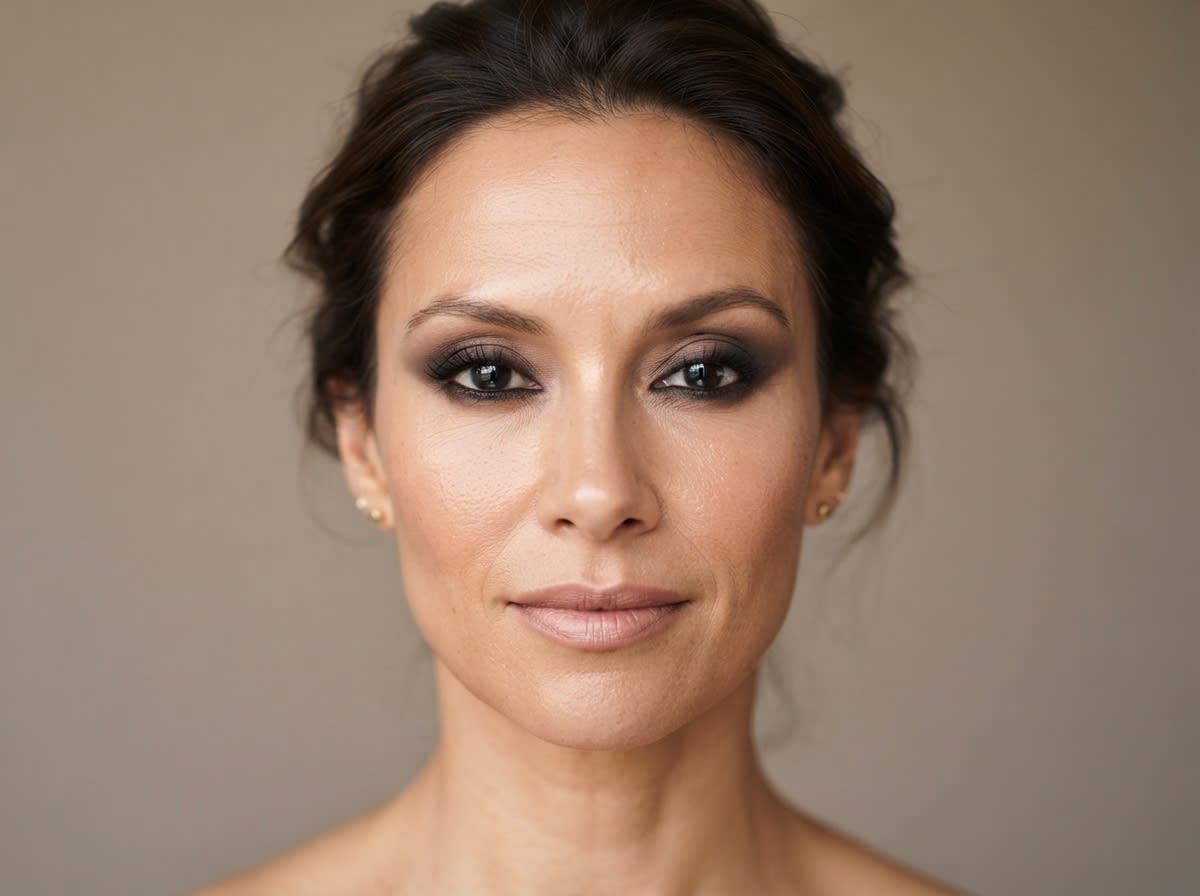
Look in a mirror with your face relaxed and your eyes open normally, looking straight ahead rather than tilting your chin down or gazing upward. If you cannot see your crease at all, or only a thin sliver of it shows near the outer corner, you likely have some degree of hooding. If your full crease is visible with your eyes open in this relaxed position, your eyes are not hooded, even if a small amount of lid disappears when you smile or squint.
Hooding exists on a spectrum. Some people have slight hooding, where the crease is mostly visible but softened at the outer corner. Others have moderate to pronounced hooding, where the crease disappears almost entirely when the eyes are open. Brow position plays a role too: eyes with a lower-set brow tend to show more visible hooding than eyes with a higher-set, more lifted brow, even with similar underlying lid structure.
Why Makeup Placement Works Differently on Hooded Eyes
The single most useful habit for hooded eye makeup is this: evaluate placement with your eyes open, relaxed, and looking straight ahead, not while you are looking down into a mirror or holding your eye closed. On many hooded eyes, color placed entirely inside the natural crease becomes partially or completely hidden once the eye opens, because the fold physically covers that space during normal eye contact.
Because of this, visible definition often needs to extend slightly above where the natural crease sits, into the lower part of the browbone area, so that some of that definition remains visible above the fold. This does not mean piling color all the way up to the brow. It means checking, honestly, where the fold actually falls when your eye is open, and making sure your darkest or most defined color has at least some presence above that line.
A simple way to build this habit: apply and blend with your eyes closed as usual, then open your eyes fully, relax your face, look straight ahead, and check the placement before moving on. If the definition has vanished, you will know immediately, and you can adjust before the rest of the look is finished rather than after.
It also helps to check the look in a couple of different lighting conditions if you can, since dim bathroom lighting can hide gaps or unevenness that become obvious in daylight or under overhead office lighting. If you only have one light source, stepping back from the mirror by a foot or two and glancing at the whole eye area, rather than staying zoomed in close, gives a more realistic sense of how the placement will actually read to someone looking at you.
What You Need Before Starting
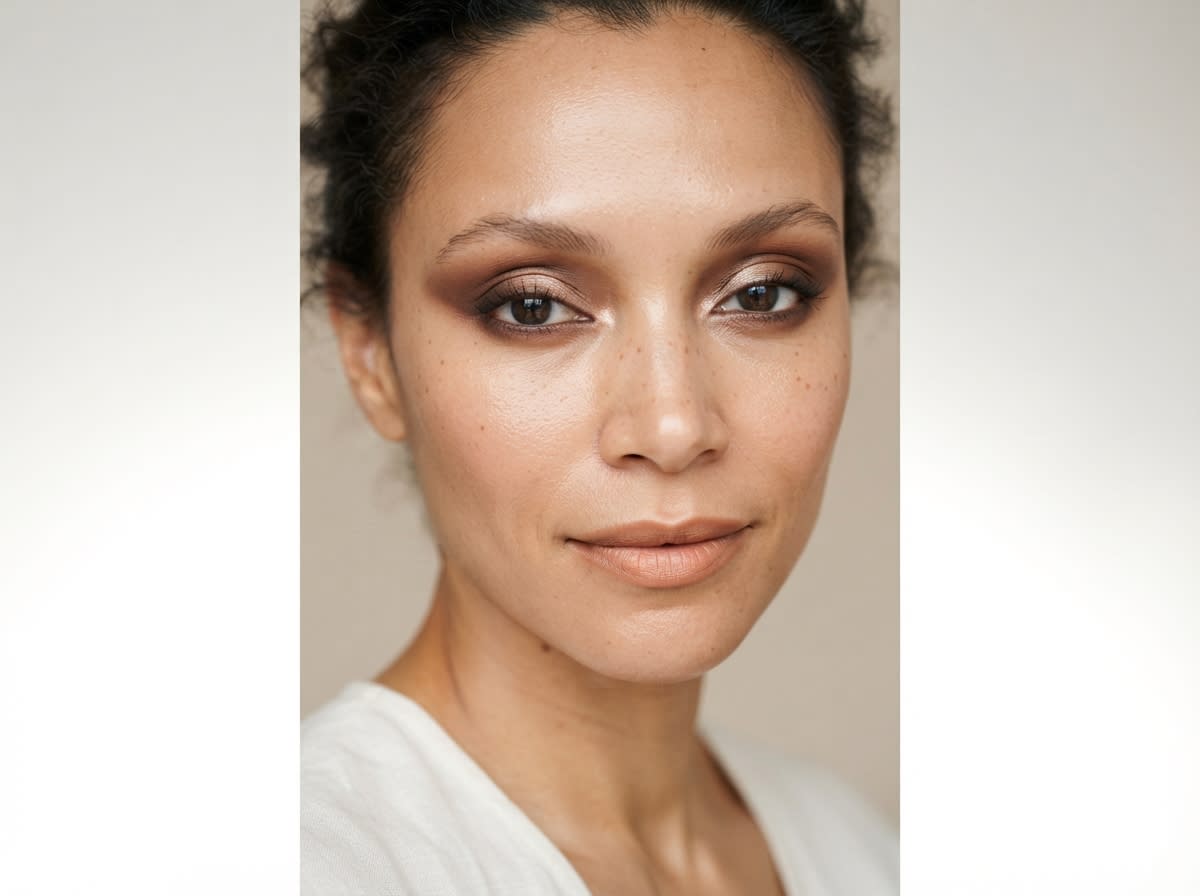
You do not need a large kit to get consistent results on hooded eyes. A few well-chosen products make more difference than a large palette:
- An eye primer, which helps color grip the lid and resist transferring into the fold as the day goes on.
- A neutral matte transition shade close to your skin tone, used to soften the area between the lash line and the browbone.
- A slightly deeper matte shade for definition at the outer corner.
- A small, fluffy blending brush and a smaller, denser brush for placing color precisely.
- A thin liner, in gel, liquid, or pencil form, and a lash curler and mascara.
Hooded Eye Makeup Step by Step
This sequence works as a full, polished look. Each step notes where product should go and how to check it, since placement matters more than the exact shades you choose.
1. Prime the lid
Use a thin layer of eye primer across the entire mobile lid, paying extra attention to the area right along the fold, where natural oils tend to collect and cause color to shift or fade faster than elsewhere.
2. Find your fold, eyes open
Before applying any color, look straight into the mirror with your eyes relaxed and open, and note roughly where the fold sits. You will use this as your reference point for the next few steps rather than guessing based on where the crease falls when your eyes are closed.
3. Place the transition shade
With a fluffy brush, place the neutral transition shade slightly above where you noticed the natural fold sits, then blend it softly upward and outward in small back-and-forth motions. Start with a small amount of product and build in thin layers so the result stays soft rather than patchy.
4. Build definition at the outer corner
Using the smaller, denser brush, apply the deeper shade to the outer third of the lid in a slight windshield-wiper motion, angling it up and outward. This is the color that gives the eye shape and lift, so check it with your eyes open before deciding it is finished. If it has faded into the fold, add a touch more and blend again.
5. Soften the transition into the browbone
Blend the top edge of your transition shade gently upward so there is no visible stripe of color sitting against bare skin. Since some definition now lives slightly above the natural crease, this blending step is what keeps it looking like soft shadow rather than an obvious line.
6. Add shimmer sparingly, if you want it
If you like a bit of shine, pat a small amount of shimmer onto the center of the mobile lid only, staying below where the fold sits. Center placement catches light during normal eye contact without drawing extra attention to the fold itself, which can happen when shimmer is swept across the entire lid.
7. Line the eyes
Apply a thin line as close to the upper lash line as possible, gradually thickening slightly toward the outer corner if you like more definition. Keep the line thinner than you might on a non-hooded eye, and check it with your eyes open, since a heavier line is more likely to sit under the fold and lose its visual impact.
8. Curl and coat lashes
Curl lashes before applying mascara, then focus most of your mascara at the outer lashes and roots. Well-lifted lashes visually open the eye area and help balance the fold.
9. Finish the brows and do a final open-eye check
Fill and set your brows, since groomed brows anchor the whole eye area. Finish by looking straight ahead one more time, relaxed and open, to confirm the definition you built is actually visible and not lost under the fold.
Eyeshadow Placement for Hooded Eyes
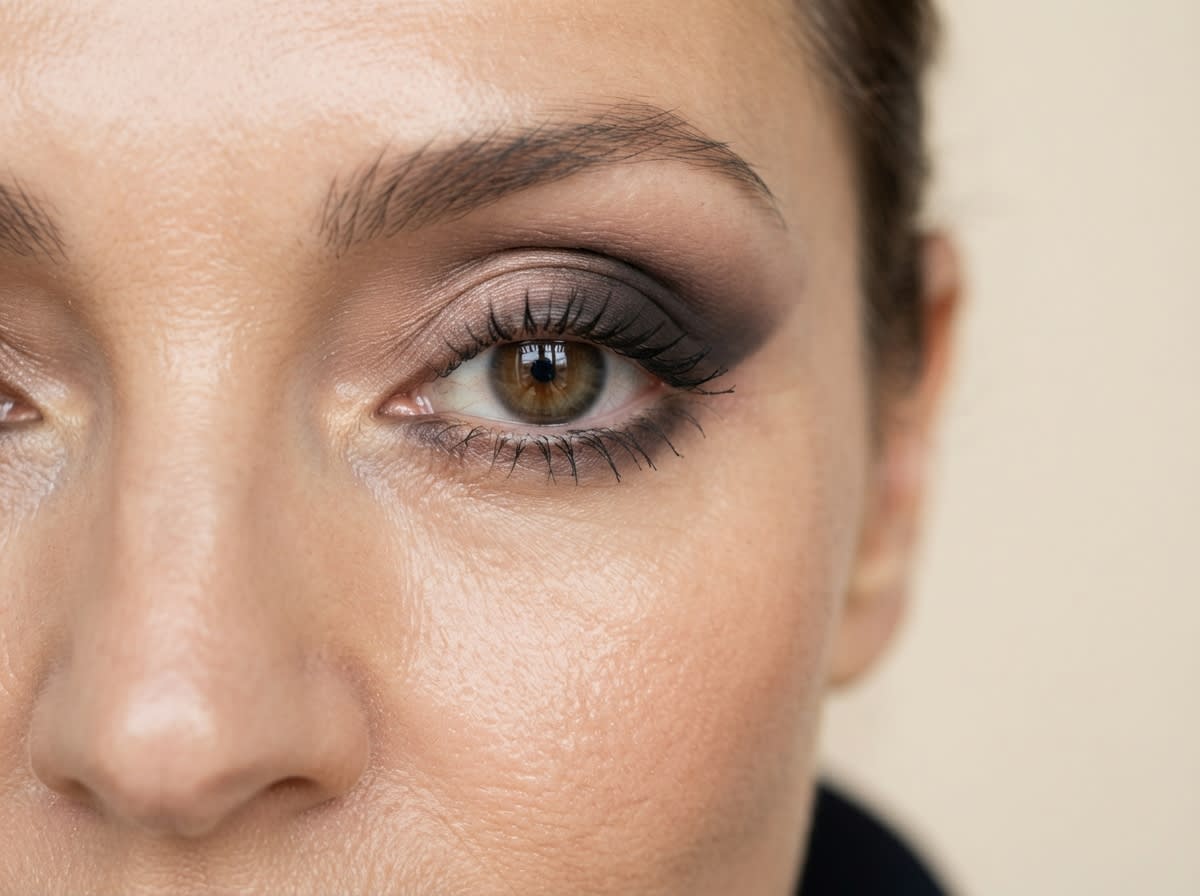
There are two workable approaches to eyeshadow placement on hooded eyes, and either one can look polished depending on the occasion. A soft, blended transition wash, where color is diffused gradually from the lash line up toward the browbone with no hard edges, tends to suit everyday wear and reads naturally in daylight. A more defined placement, where a deeper shade is deliberately concentrated slightly above the visible fold to create contrast, tends to photograph better and suits evening or special-occasion looks.
Whichever approach you choose, the placement principle stays the same: build definition where it will remain visible with the eyes open, and blend the upper edge so it looks intentional rather than abrupt.
If you want to turn this placement into a deeper, more dramatic look, follow our smokey eye for hooded eyes step-by-step tutorial, which shows how to build outer-corner depth and blend the shadow above the fold so the smokey effect stays visible when your eyes are open.
Eyeliner for Hooded Eyes
Eyeliner on hooded eyes generally works best thin and close to the lash line rather than thick or heavily winged, since a thick line is more likely to sit partly or fully under the fold once the eye is open. If you enjoy a winged look, extend the wing gently and check it with your eyes open before committing to the angle, since the correct angle for a hooded eye often sits slightly lower and closer to the lash line than it would on a non-hooded eye.
Quick-setting gel or liquid formulas may resist transfer better for some people than very creamy pencils, especially when the lid folds closely over the lash line. If you prefer a softer, smudged look rather than a crisp line, a small amount of dark eyeshadow pressed along the lash line with a thin brush can create subtle definition without heaviness.
Mascara and Lashes for Hooded Eyes
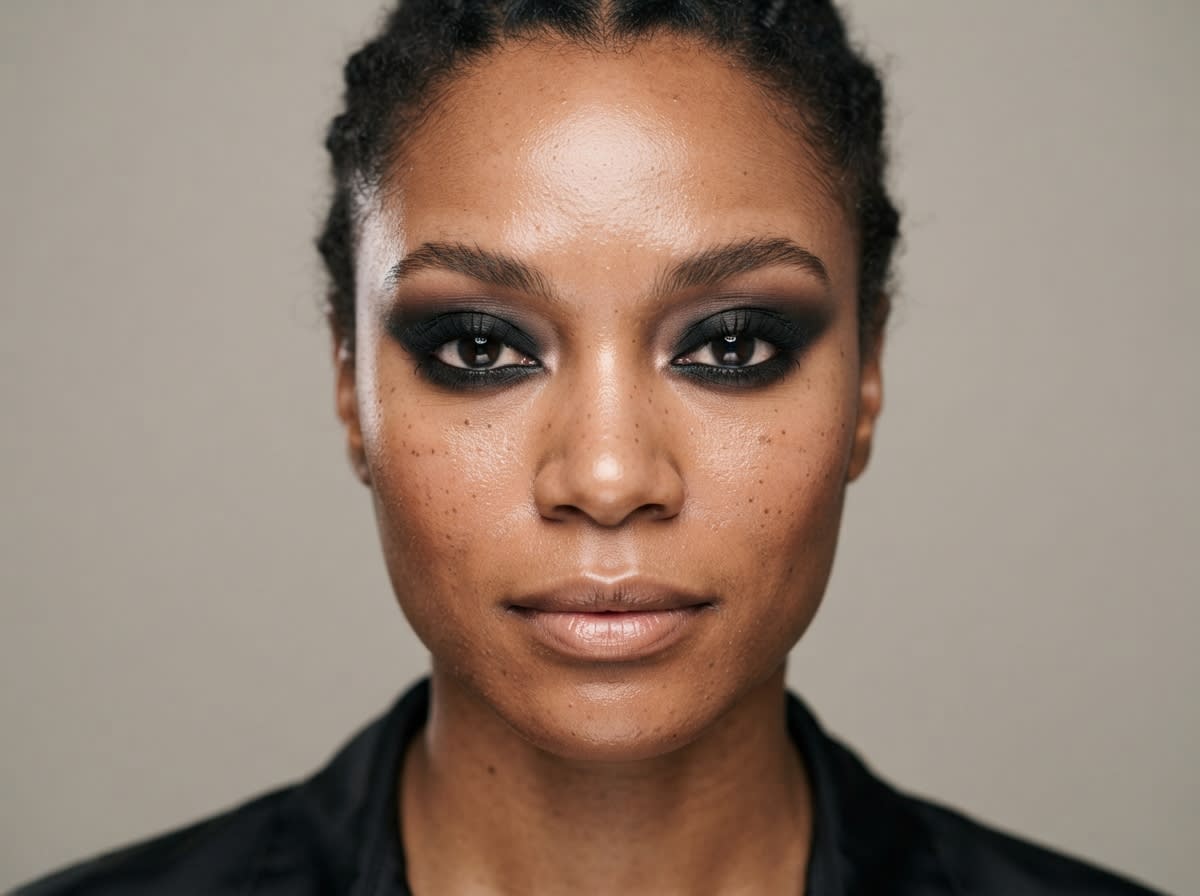
Curling your lashes before mascara makes a noticeable difference on hooded eyes, since lifted lashes create visual space between the lash line and the fold. Focus the bulk of your mascara at the roots and outer lashes rather than building heavy volume throughout, which can look clumped and pull attention downward instead of up. If you use false lashes or a lash lift, concentrating length at the outer corner tends to lift the whole eye shape more than an even strip across the entire lash line.
How Brows Affect Hooded Eye Makeup
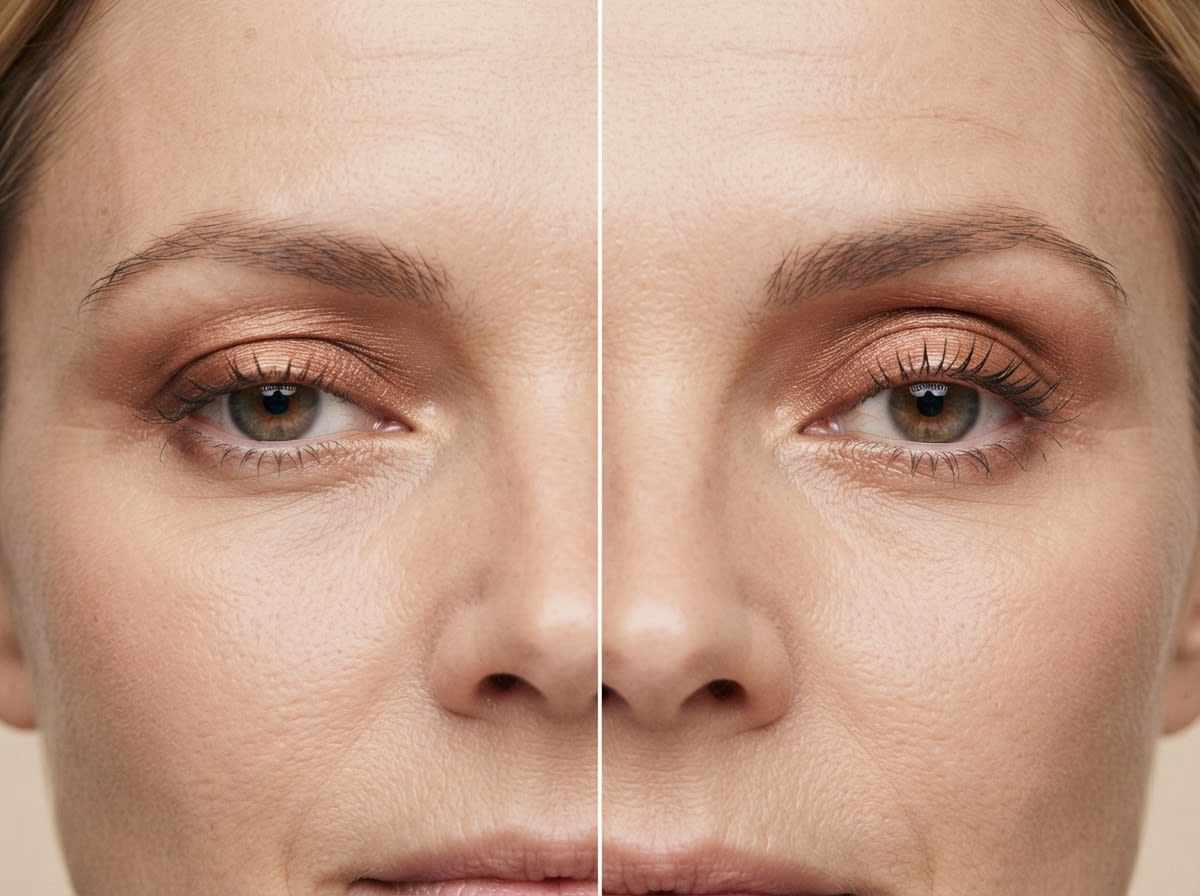
Brow shape and position change how much hooding shows, since a lower-set brow sits closer to the fold and leaves less visible space above the lash line. A softly groomed brow with a slight, natural lift can create a bit more room between the brow and the fold without looking overdone. This does not mean over-arching or over-plucking; a brow that is too high or too sharp can look severe rather than lifted. Keeping brows filled but soft, with natural-looking hairs at the front, generally complements hooded eye makeup better than a hard, graphic shape.
Easy Everyday Hooded Eye Makeup
For an everyday version that takes only a few minutes, skip most of the layering above and focus on three moves. First, sweep a single neutral shadow, cream or powder, from the lash line up and slightly above the fold, blending with a finger or one fluffy brush so there is no obvious edge. Second, apply a thin line close to the lashes, or skip liner entirely and rely on mascara alone for a softer effect. Third, curl your lashes, apply one coat of mascara, and brush your brows into place.
Using thin layers of product matters even more for an everyday look, since less time spent blending means less opportunity to catch and fix any color that has settled too far into the fold. A single, well-placed layer that you check with your eyes open will generally look more finished by midday than a heavier application applied without checking.
Making Hooded Eyes Look More Open, If You Prefer
If you like a brighter, more awake effect, a few adjustments can help. A touch of light, fine-milled shimmer at the inner corner and center of the lid can add brightness without heaviness. Keeping the under-eye area brightened with a light concealer, curling lashes well, and softly lifting eyeliner at the outer corner can all contribute to a more open appearance. None of these are required; they are simply options for anyone who wants to lean into a brighter effect for a particular occasion.
Common Hooded Eye Makeup Mistakes
Most of these come back to the same root cause: judging the look while the eye is closed, then being surprised by what shows once it opens. Once you build the habit of checking placement with your eyes open, the rest tends to correct itself quickly.
- Checking placement only with eyes closed. It is easy to blend a look that appears finished with your eyes shut, then find most of the definition has vanished once you open them. Get in the habit of checking with your eyes open and relaxed throughout the process, not only at the end.
- Placing color only inside the crease. If every bit of definition sits below the fold, it will read as flat, bare lid once your eyes are fully open. Some color needs to live above that line to remain visible.
- Using shimmer across the entire lid. Heavy shimmer swept over the whole area can accentuate the texture of the fold rather than the color itself. A smaller, centered placement is usually more flattering.
- Applying a thick liner without checking it open-eyed. A bold line can look striking with the eye closed and then disappear almost entirely once the eye opens, wasting the effort and product.
- Skipping primer. Without it, color has a harder time gripping the lid and is more likely to shift into the fold as the day goes on, especially in warmer weather.
- Leaving a hard edge at the top of the transition shade. Because definition sometimes needs to extend above the natural crease, that upper edge has to be blended softly, or it can look like a stripe rather than natural shading.
- Neglecting the brows. Brows anchor the eye area, and an unfinished brow can make an otherwise careful eye look feel incomplete.
Troubleshooting: Disappearing Color and Liner Transfer
My eyeshadow disappears when my eyes are open
This almost always means the color was placed too low, entirely under the fold. Redo the transition and definition shades, this time starting slightly higher, and confirm the placement with your eyes open before you move on to the next step rather than after the whole look is finished.
My eyeliner smudges or transfers onto the fold
Try a quick-setting liquid or gel formula if your current liner transfers, and apply it in a thinner line. Make sure primer is in place first, and avoid applying liner directly on top of a heavy, balm-based eye cream, since that can make setting more difficult. Pressing a small amount of matching eyeshadow over the liner once it dries can also help reduce transfer.
My mascara transfers to my browbone
This tends to happen when lashes are long enough to brush against the fold on blinking. A lengthening formula rather than a heavy volumizing one, applied in thin coats with drying time between them, and a good curl beforehand, usually reduces this.
Adapting the Technique to Your Amount of Hooding
How much you need to adjust standard placement depends on how much hooding you have. With slight hooding, where most of your crease is still visible when your eyes are open, you can usually place color close to your natural crease and blend a small amount upward, similar to a non-hooded technique with a bit of extra attention at the outer corner.
With moderate hooding, where the crease disappears almost entirely once your eyes are open, the open-eye check becomes essential rather than optional, and your visible definition generally needs to sit clearly above where the crease vanishes.
With more pronounced hooding, even color placed near the browbone can look diffused or muddy if it is spread too widely across a limited visible space. In that case, a smaller, more concentrated area of color at the outer corner, angled slightly up and outward, tends to read more clearly than a wide, soft wash across the whole lid.
Hooded Eye Makeup for Mature Eyes
Hooding is not caused exclusively by aging, but the skin around hooded eyes can change over time in ways that affect how makeup performs. Skin on and near the lid can become thinner and less elastic, and fine lines may become more visible. Very dry or heavily layered matte formulas can sometimes emphasize texture, so some people prefer soft matte or satin finishes applied in thin layers.
Product also tends to migrate more readily into the fold as the day goes on, so building color in thin layers, and setting them lightly rather than pressing on heavy amounts at once, generally lasts longer and looks more natural. When applying or blending, patting motions are gentler on thinner, more delicate skin than dragging or rubbing a brush back and forth.
For eyeliner, a thinner line tends to look softer and more comfortable than a thick, dramatic one, and it is also less likely to smudge on skin with more movement. A softly smudged line, or light tightlining close to the lashes, can add definition without heaviness. If you enjoy shimmer, fine-milled formulas tend to sit more smoothly on textured skin than chunkier, glittery ones, which can draw attention to fine lines rather than away from them.

Useful Tools and Product Types
- Eye primer, to help color grip the lid and resist creasing into the fold.
- A small, tapered blending brush for softening the upper edge of your transition shade.
- A flat, dense shader brush for packing on color where you want visible definition.
- A thin pencil brush for precise placement near the lash line.
- A quick-setting gel or liquid liner, which may resist transfer better for some people than a very creamy pencil.
- An eyelash curler and a spoolie brush for grooming brows into place.
Frequently Asked Questions
Where should eyeshadow go on hooded eyes?
Start your lightest transition shade at the lash line and blend it slightly above where your fold sits when your eyes are open, then concentrate a deeper shade at the outer corner. Always confirm placement with your eyes open rather than closed.
Why does my eyeshadow disappear when I open my eyes?
This usually happens when color is placed entirely inside the natural crease, which the fold then covers once the eye opens. Extending your definition slightly above the fold and checking placement with your eyes open solves this in most cases.
Should hooded eyes use matte or shimmer eyeshadow?
Both can work well. Matte shades are often easier to control for defined placement, while a small amount of shimmer centered on the lid can add brightness. Heavy shimmer swept across the entire lid tends to be less flattering, since it can emphasize the texture of the fold.
Is winged eyeliner good for hooded eyes?
It can be, if the wing is thin and its angle is checked with your eyes open, since a wing that looks great with your eye closed can end up hidden or distorted once the eye opens. A softer, lower-angled wing tends to work better on hooded eyes than a very tall, dramatic one.
How can I keep eyeliner from smudging on hooded eyes?
Use a primer underneath, choose a quick-setting gel or liquid formula, and apply a thinner line rather than a thick one. Setting the liner with a small amount of matching eyeshadow can also help it stay in place through the day.
Do hooded eyes get more noticeable with age?
For many people, yes, since skin around the eyes can lose some elasticity over time, which can make an existing hood appear more pronounced. Hooded eyes are not caused exclusively by aging, though, and plenty of people have naturally hooded eyes from a young age.
What is the easiest hooded eye makeup for beginners?
A single neutral shadow blended from the lash line to just above the fold, a thin line close to the lashes or no liner at all, and mascara is a reliable, low-effort starting point. Once that feels comfortable, you can build in more defined placement and a deeper outer-corner shade.
Final Takeaway
Hooded eye makeup comes down to one habit more than any single product or technique: check your placement with your eyes open, relaxed, and looking straight ahead, not just closed or looking down. Once you know where your fold actually sits, you can build definition that stays visible instead of disappearing, and you can adjust the approach to your own amount of hooding rather than following a single fixed method. None of this is about fixing hooded eyes. It is about working with the shape you have so your makeup does what you intended it to do.