Why Makeup Settles Into Pores Instead of Hiding Them
The frustration of learning how to hide large pores stems from a fundamental misunderstanding: pores aren't surface imperfections you can cover—they're three-dimensional indentations that create shadows and texture. When you apply standard foundation, liquid product pools in these depressions, oxidizes throughout the day, and actually makes pores more visible by creating dark spots against your skin. The reason most tutorials fail is they treat pore concealment like coverage when it's actually an optical and textural challenge.
What dermatological research reveals about enlarged pores: they appear larger not because the pore opening itself expands, but because oil, dead skin cells, and collagen loss create a funnel effect around the opening. Sebaceous filaments oxidize to dark gray or black, while decreased structural support allows pore walls to collapse inward. This explains why how to stop foundation sitting in pores on nose requires addressing both the depth and the contents of pores, not just surface application technique.
The critical insight most makeup advice misses: you need to physically fill the pore depression before applying color. Think of it like spackling a wall before painting—without the base layer that creates a smooth plane, your top layer (foundation) will always reveal underlying texture. This is why primer isn't optional for how to conceal pores with makeup—it serves a structural function, not just a longevity one. For comprehensive strategies during hormonal changes that affect pore appearance, see our guide on hiding pores during menopause.
Common Pore-Concealing Myths That Make Things Worse
Myth 1: More Foundation Coverage Hides Pores Better
The contradiction between instinct and reality: full-coverage foundation makes pores more visible, not less. Heavy formulas contain more pigment particles that literally cannot fit into pore openings, so they create a thick layer on the surface while leaving pores as visible divots. What experienced makeup users know about how to cover large pores on mature skin is that sheer-to-medium coverage applied in thin layers allows you to build opacity around pores without filling them with product. The trade-off? This requires more time and precision than a single heavy application.
Myth 2: Powder Sets Makeup and Hides Pores
Here's what beginners misunderstand about powder: while it does set liquid products, it also creates a matte surface that eliminates the light diffusion that makes skin look smooth. Pores are essentially tiny shadows—powder increases contrast between the shadowed pore and surrounding skin, making them more noticeable. The evidence from professional makeup artists shows that strategic powder application (only on areas that actually need oil control, avoiding pore-heavy zones) creates better results than all-over setting. Skip powder entirely on your nose and cheeks if pore visibility is your primary concern.
Myth 3: Silicone Primers Fill and Smooth All Pores
The misconception about pore minimizing makeup is that all silicone-based primers work identically. Lightweight silicones like dimethicone create slip but don't fill, while specific pore-filling formulas contain elastomers (dimethicone crosspolymer) that actually grip pore walls and create structure. Reading ingredient lists matters—a primer marketed as pore-minimizing but listing only dimethicone won't deliver the filling effect you need. Look for combinations of dimethicone crosspolymer with silica or polymethylsilsesquioxane, which create actual volumizing fill.
The Actual Technique for Concealing Large Pores
What actually works for how to disguise large pores requires a three-layer system that addresses depth, color, and light reflection separately. First, apply pore-filling primer using a pressing motion with your fingertip—literally push primer into pore openings using gentle pressure, working in small sections. Wait 60-90 seconds for the silicone elastomers to grip before moving to the next step. This timing is crucial; applying foundation too soon prevents the primer from setting into pore structure.
Layer two addresses color correction and coverage:
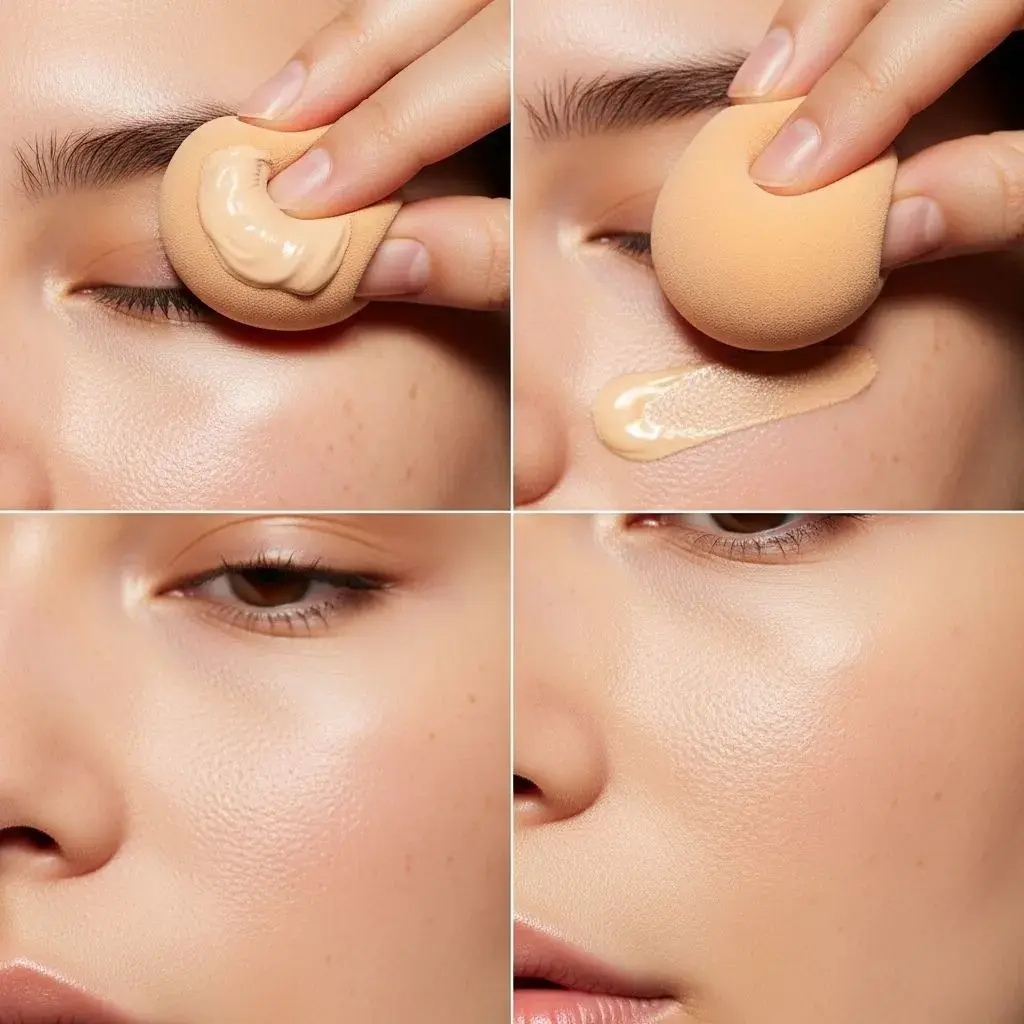
- Use stippling application, never sweeping: Apply foundation with a damp beauty sponge using gentle bouncing motions. Stippling deposits product on the surface without disrupting the primer layer underneath or dragging foundation into pores.
- Build coverage gradually in problem zones: Apply one thin layer overall, then add a second layer only to areas with visible pores (typically nose, cheeks, chin). This prevents the mask-like appearance of uniform heavy coverage.
- Choose satin or luminous foundations over matte: Light-reflecting particles in satin formulas scatter light across micro-texture, creating optical smoothness. Matte formulas absorb light directly into pores, emphasizing depth.
The final layer focuses on light management. Apply a luminizing powder or liquid highlighter to the high points of your face (cheekbones, bridge of nose, brow bone) while avoiding pore-heavy zones entirely. This creates dimension that draws the eye toward reflective areas and away from textured ones. For additional makeup strategies during hormonal transitions, explore our complete makeup guide for skin changes.
When Standard Pore-Concealing Techniques Fail
Here's the edge case that derails typical advice: extremely oily skin continuously produces sebum that breaks down both primer and foundation, causing makeup settles into pores within 2-3 hours regardless of technique. The standard pore-filling method assumes your skin maintains a relatively stable surface, but excessive oil creates a slip layer that foundation slides on. The solution requires a counterintuitive approach: skip pore-filling primer entirely and instead use an oil-control primer with salicylic acid that regulates sebum production. Apply foundation in even thinner layers than usual, then use blotting papers every 2-3 hours to remove oil without disturbing makeup. The limitation? This requires mid-day maintenance that many women find inconvenient, and results last only 3-4 hours maximum between blotting sessions. The alternative is accepting visible pores in exchange for zero maintenance, which many find liberating once they reframe pores as normal skin texture rather than flaws requiring correction.